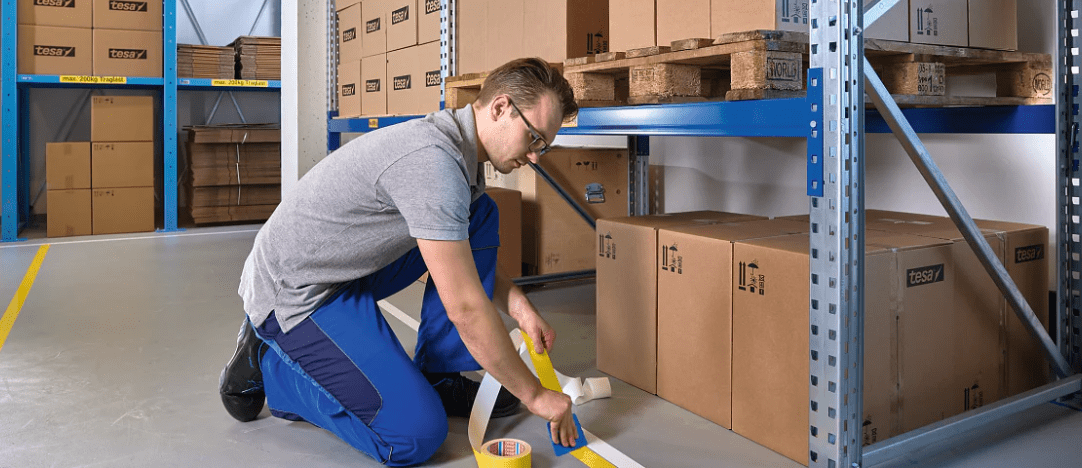
Floor marking tape plays a critical role in warehouse safety, workflow efficiency, and visual organization. From defining walkways and forklift lanes to highlighting hazards and storage zones, floor tape is a simple solution that delivers big operational value.
Yet despite its importance, many facilities struggle with tape that peels too soon, fades quickly, or fails to communicate clearly. The issue usually isn’t the tape itself; it’s how it’s selected, applied, or maintained.
Below are five of the most common mistakes businesses make with floor marking tape, along with practical tips to help you get better performance, longer lifespan, and safer facilities.
Mistake #1: Using the Wrong Type of Floor Marking Tape
Not all floor marking tapes are created equal. One of the biggest mistakes is choosing tape based on price or availability rather than application requirements.
Why this cases problems:
-
Light-duty tape breaks down under forklift traffic
-
Incorrect adhesive fails on concrete or sealed floors
-
Thin backing wears quickly in high-traffic areas
How to fix it:
Choose floor marking tape based on:
-
Traffic level (foot traffic vs forklift traffic)
-
Surface type (sealed concrete, epoxy, tile)
-
Environment (temperature, moisture, dust)
Industrial-grade vinyl floor marking tape is typically the best choice for warehouses and manufacturing environments because it offers durability, flexibility, and strong adhesion.
Mistake #2: Poor Surface Preparation Before Application
Even the best floor marking tape won’t perform well if it’s applied to a dirty surface.
Common prep mistakes:
-
Applying tape over dust, grease, or debris
-
Skipping cleaning steps to save time
-
Installing tape on damp or cold floors
How to fix it:
Before applying floor marking tape:
-
Sweep and remove loose debris
-
Clean the surface with a mild degreaser or alcohol
-
Allow the floor to fully dry
-
Apply tape at the recommended temperature ranges
Proper surface prep ensures the adhesive bonds correctly, preventing early peeling, curling edges, and wasted material.
Mistake #3: Ignoring Color Standards and Visual Clarity
Floor marking tape isn’t just about sticking lines to the floor—it’s about clear communication.
Common prep mistakes:
Inconsistent or incorrect colors can:
-
Confuse employees
-
Create safety risks
-
Reduce compliance with internal or industry standards
How to fix it:
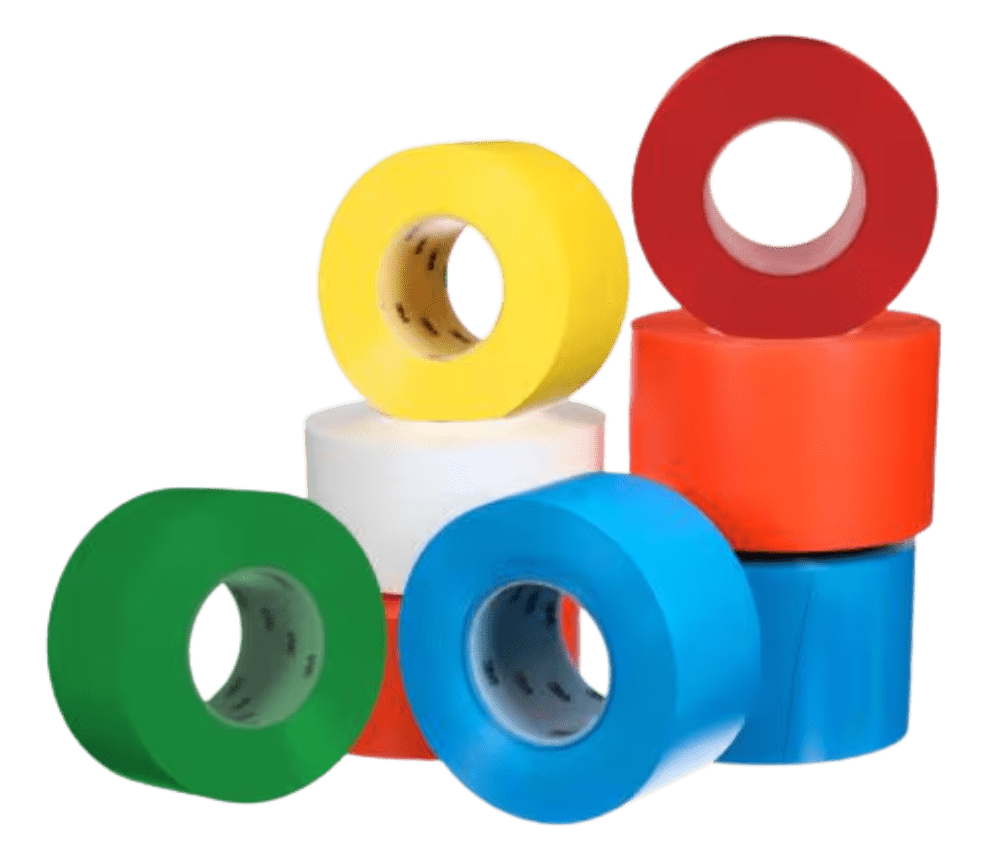
Use consistent color coding across your facility. While standards may vary by operation, common practices include:
-
Yellow – walkways and aisles
-
Red – fire equipment and emergency areas
-
Green – safety equipment or first aid zones
-
Blue – equipment or workstations
Establish a clear internal color guide so everyone understands what each marking represents.
Mistake #4: Applying Tape Incorrectly
Even with the right tape and a clean surface, poor application technique can reduce performance.
Common application errors:
-
Stretching tape during installation
-
Leaving air bubbles underneath
-
Not applying enough pressure
How to fix it:
For best results:
-
Apply tape without stretching
-
Press firmly along the entire length
-
Use a roller or hand pressure to activate adhesive
-
Avoid sharp turns without proper cutting
Correct application helps the tape conform to the floor and resist lifting under traffic.
Mistake #5: Treating Floor Marking Tape as “Set It and Forget It”
Floor marking tape is durable, but it isn’t maintenance-free.
Why this shortens lifespan:
-
Heavy traffic causes gradual wear
-
Cleaning machines may lift edges over time
-
Faded or damaged tape reduces visibility
How to fix it:
Create a routine inspection schedule:
-
Replace worn or damaged sections promptly
-
Clean markings regularly to maintain visibility
-
Re-apply tape in high-traffic areas as needed
Proactive maintenance keeps your facility looking professional while maintaining safety and efficiency.
How to Choose the Right Floor Marking Tape
If you want floor markings that last, consider these factors before purchasing:
-
Traffic level: Foot traffic vs forklifts
-
Surface type: Concrete, epoxy, tile
-
Visibility needs: Bright colors or reflective options
-
Removal needs: Temporary vs long-term marking
Selecting the right tape upfront reduces downtime, rework, and replacement costs.
Final Thoughts: Small Changes, Big Impact
Floor marking tape is one of the simplest and most effective ways to improve organization, safety, and productivity, but only when it’s applied correctly. By avoiding common mistakes and selecting the right tape for your environment, you can extend the life of your floor markings, improve overall facility clarity and safety, and reduce ongoing maintenance and replacement costs over time.
Comments are closed